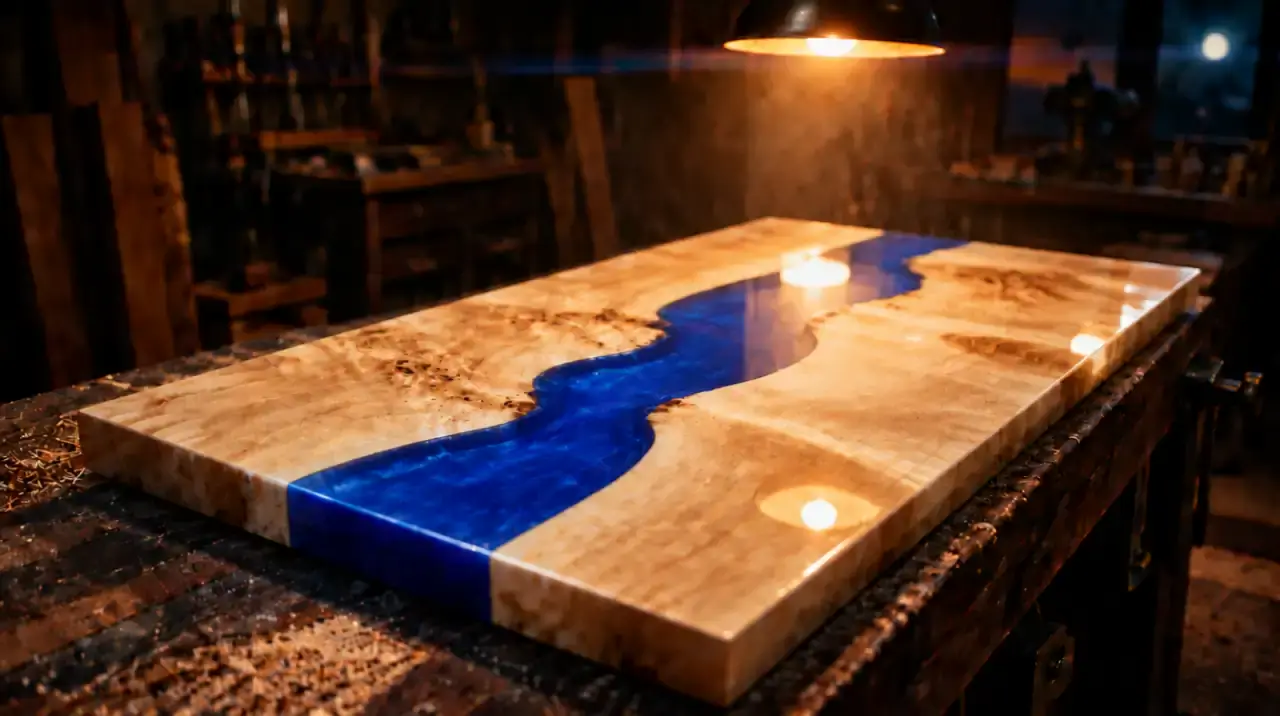
How I make a river table, from rough slab to finished top
Each of my tables took about a week to make, including the time it takes for the resin to properly cure. A fair bit of that week is waiting. So, here's how it goes, step by step, the way I wrote it up when I was making them.
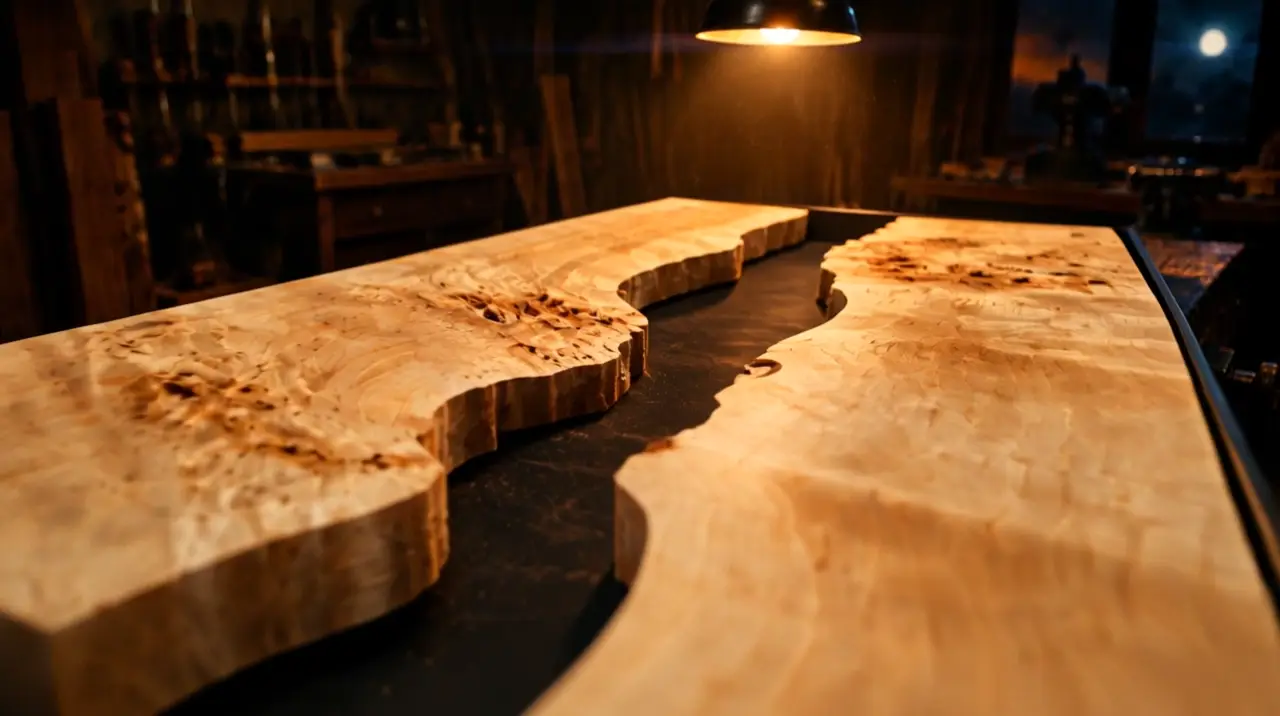
Eight steps, and a lot of waiting
Clean the wood
Timber with a natural edge usually comes with loose bark, dust and sometimes a bit of rot. I scrub it clean, usually with a jet washer to get into every crevice, then leave it flat somewhere dry so it doesn't warp.
Lay out the river
I put the live edges facing each other and move the slabs about until the gap curves and twists the way I want. The gap is where the resin goes, so this is where the table's look gets decided. A metre-wide river would need an awful lot of resin.
Build the mould
The slabs sit in a box: a flat base and a border, every inch covered in tape so the resin won't stick. I screw the border to the base, never into the wood, then run silicone round every edge. This is the step that decides whether you end up with a table or a blob.
Level it
Before any resin goes in, the mould has to be dead level. Even a small tilt means a lot more sanding later.
Mix and colour the resin
Resin and hardener are measured by weight, not by eye, and mixed until my hand cramps. Then the colour goes in a few drops of pigment at a time, keeping in mind how it'll sit against the wood.
Pour in layers
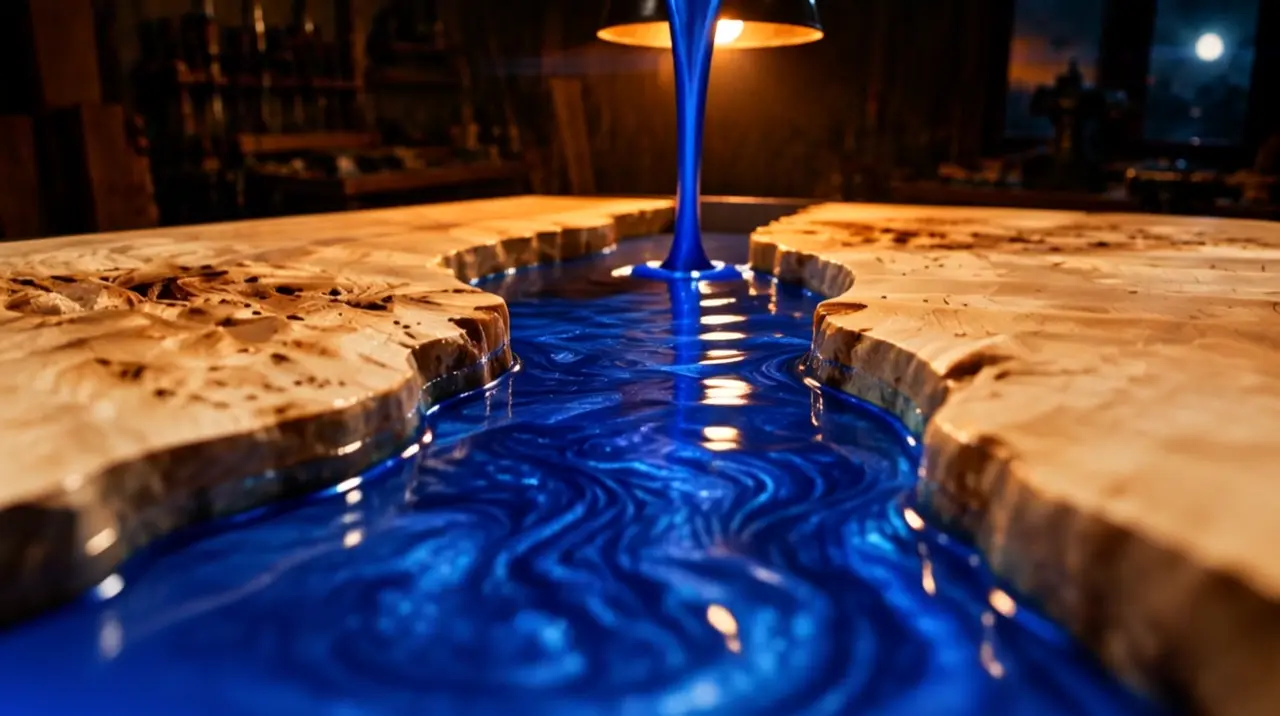
I pour slowly from low down to keep air bubbles out, about 40 mm at a time, because deeper pours can overheat. Each layer takes about 36 hours, and I keep going until the resin is flush with the top of the wood.
Take it out of the mould
Once it's fully cured, the border comes off with a chisel. The resin didn't stick to it, but that doesn't mean it lets go easily.
Coat, sand and fit the legs
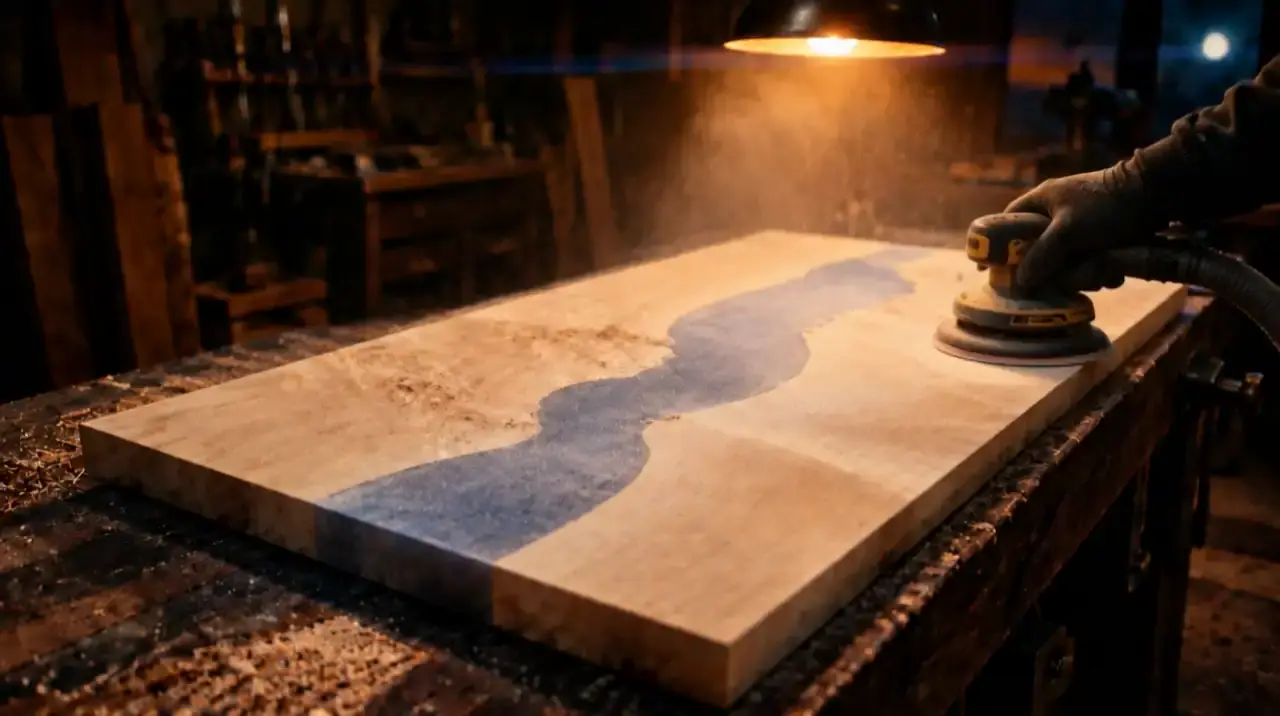
The top gets a coat of clear resin, then I sand it back to a low or soft sheen so it still looks like wood. Last come the steel legs, powder-coated to suit the table.
And the boards
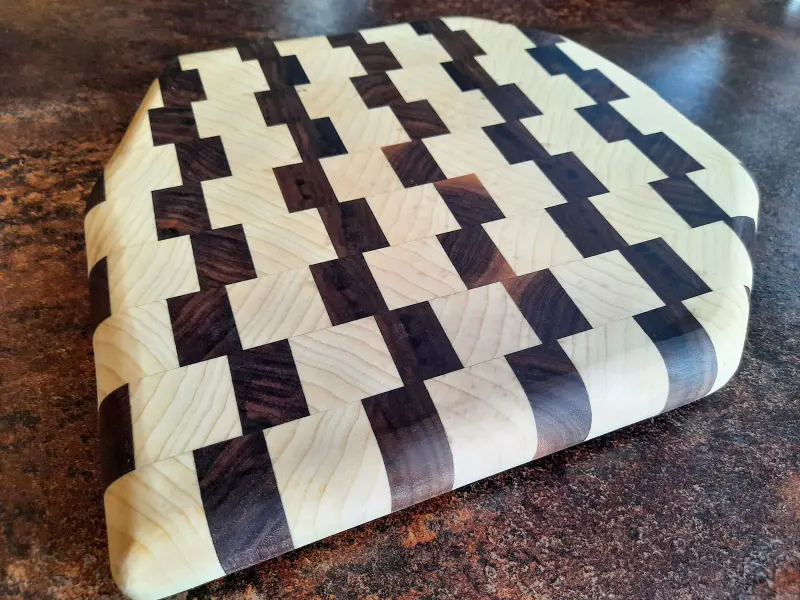
The boards start as hardwood offcuts. I match the grain so the joins disappear, and alternate the growth rings so the board doesn't cup. Before the oil goes on, I wet the wood and sand the raised fibres back, a few times over. It sounds daft, but it means the board stays smooth after oiling instead of going rough.
The tables that came out the other end
There are five in stock, one of each, from £750. They're already made, so there's no build to wait for.
See what's in stock